Di Medan, saya merasakan perawatan Scentscience yang membuat kulit lebih segar dan pikiran lebih tenang. Benar-benar pengalaman yang berbeda.
Gabby Siregar
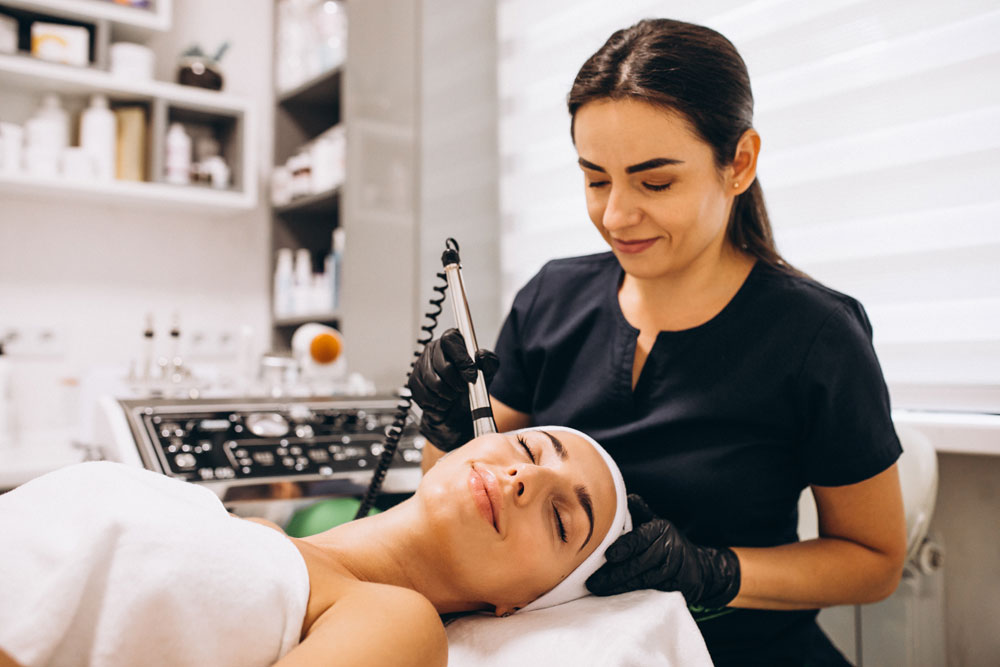
Pelanggan MedanScentscience Beauty Indonesia blends nature, science, and elegance to create transformative beauty experiences. Our approach is backed by research and inspired by the harmony of scent, wellness, and innovation.
Explore science-backed beauty articles, skincare tips, and fragrance knowledge curated to help you make smarter beauty choices every day.
Discover curated beauty and scent collections inspired by innovation, research, and modern self-care trends for everyday routines.
Stay updated with the latest beauty discoveries, product highlights, and science-based recommendations from Scentscience Beauty Indonesia.
Every product is crafted with research-backed ingredients, ensuring safety, efficacy, and visible results.
Harnessing the power of aromatics to balance mood, enhance relaxation, and elevate your beauty rituals.
Blending herbal wisdom with modern science to deliver holistic care that respects both body and nature.
Guiding you through curated experiences that combine research, scent, and self-care for lasting transformation.
Balance your mood and energy with curated aromatics.
Hydration rituals powered by research-backed innovation.
Traditional warmth blended with modern wellness science.
Inspired by nature, perfected by scientific care.
Exclusive science-backed beauty insights and treatments tailored for you.
Calm your senses with research-backed relaxation methods.
Designed for athletes and active lifestyles, restoring energy.
Traditional Thai techniques blended with modern science.
Luxurious rose-infused treatments for radiant beauty.
Di Medan, saya merasakan perawatan Scentscience yang membuat kulit lebih segar dan pikiran lebih tenang. Benar-benar pengalaman yang berbeda.
Gabby Siregar
Pelanggan MedanDi Binjai, layanan ini bikin saya merasa lebih percaya diri. Perpaduan aroma dan sainsnya luar biasa.
Floyd Nasution
Pelanggan BinjaiDi Jakarta, Scentscience Beauty membantu saya tetap tampil segar meski sibuk bekerja. Perawatan berbasis sains ini benar-benar efektif.
James Pratama
Pelanggan JakartaDi Bali, saya menikmati perawatan dengan nuansa spa tropis yang dipadukan dengan teknologi modern. Rasanya seperti liburan sekaligus perawatan.
Lance Wayan
Pelanggan BaliScentscience Beauty Indonesia benar-benar menyatukan sains dan keindahan. Dari Medan sampai Bali, kualitasnya konsisten dan memuaskan.
Kenny Putra
Pelanggan IndonesiaA small river named Duden flows by their place and supplies it with the necessary regelialia.
A small river named Duden flows by their place and supplies it with the necessary regelialia.
A small river named Duden flows by their place and supplies it with the necessary regelialia.